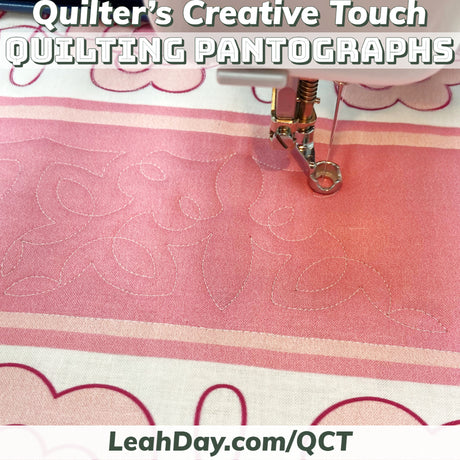
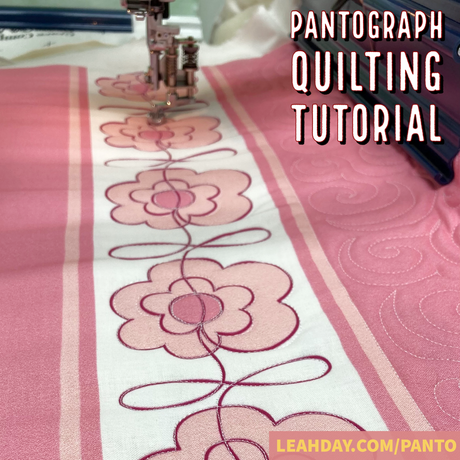
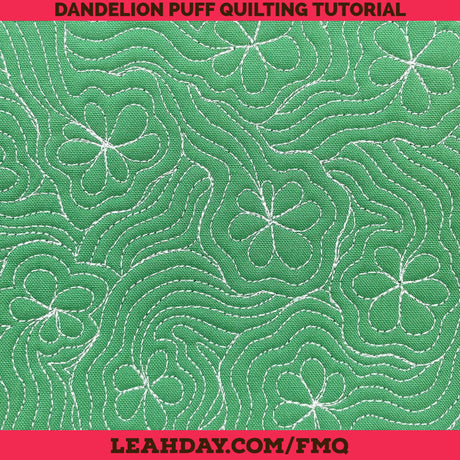
We have a new Mix n' Match Pantograph Design - Daisy Loops - and I've also turned this design into fabric! See how to quilt the narrow Daisy Loops pantograph on a Hoop Frame in this video:
Tools and supplies from this quilting tutorial:
|
|
|
|
|


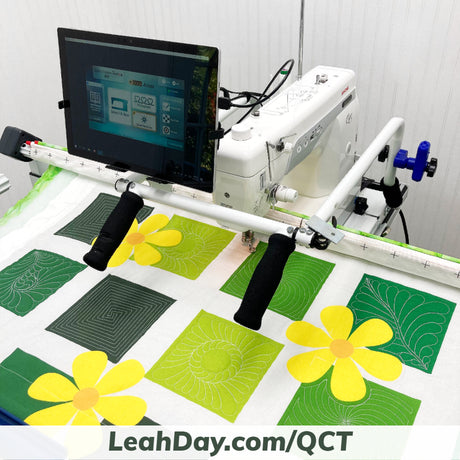
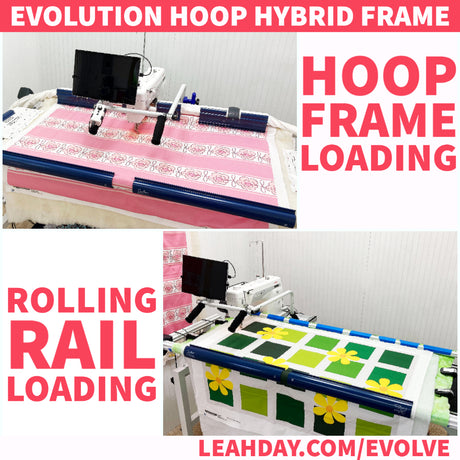
For this tutorial, I’m quilting on a home machine on the Evolution Hoop Frame loaded with the Daisy Loops Quilt Panel. I love this quilt panel because we can practice quilting on a marked line of the Daisy Loops Pantograph and have space to play with creative designs in the long open rectangles.

I quilted along the marked Daisy Loops pantograph designs on my fabric, stitching from the left edge of the quilt to the right. The quilting felt very easy following the line, though no, I didn't follow it perfectly!
Would you like more pantograph designs printed directly on fabric like Daisy Loops? Let me know in the comments below!
Tips for Using the Mix n' Match Daisy Loops Pantograph
When using a paper pantograph on a Hoop Frame, the struggle will be fitting the design into your quilt - which may or may not be straight to the rails of the frame. It helps to hoop carefully to try to get the quilt as straight as possible.
But getting it perfect will probably not be possible. This is why I don't depend on the rails of the frame, or spacing of the back table to guide the pantograph.
Instead I use the quilt - first rolling the machine up and finding the upper right corner of the space I'm quilting, then the lower right. I then tried to position the pantograph design centered within that space.
Rolling the machine down to the left, I repeated the same steps, aiming to center the pantograph into the space, but understanding that it may not fit perfectly.
Notes for Quilting Pantographs on a Hoop Frame
Two big points on this - once you get your laser positioned intitially, don't move it again. Once you get the pantograph centered, tape it down and don't move it until you're ready to quilt another space.
And yes, this is the way I recommend quilting pantograph designs on a Hoop Frame - centering the design into a rectangular space or with an exact piecing element (blocks, seam lines, sashing, etc).
In this way, the pantograph is easier to position to the location of the piecing, as it is hooped within the frame, rather than depending on your hooping to be perfect.
Would you like to learn more about Pantograph Quilting? Check out the Pantograph Quilting Guidebook to learn more!
Let's go quilt,
Leah Day
Tools and supplies from this quilting tutorial:
|
|
|
|
|