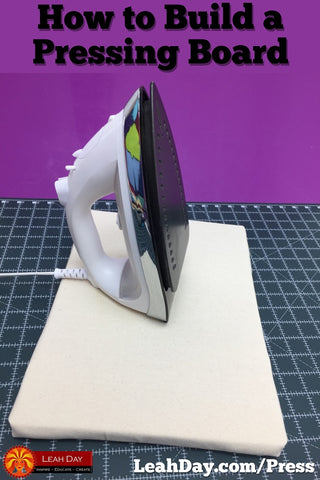
One of the single most important tools in your sewing / quilting room is your pressing or ironing board. Unfortunately most ironing boards are created with squishy foam covers that provide almost no stability for the fabric as you press. Learn how to build your own firm pressing board in this quilting tutorial with Leah Day:
 Materials to Build a Firm Pressing Board
1/2 - 3/4 inch thick plywood board cut to the size you'd like the finished pressing board to measure
100% cotton batting (Quilter's Dream Cotton in the Select Loft works great) cut 2 inches bigger than the board on all sides.
100% cotton canvas cut 4 inches bigger than the board on all sides
Heavy duty stapler with 3/8 inch staples
Hammer to bang in reluctant staples
Polyester craft felt to cover the back of the board (optional)
Why Build Your Own Pressing Board?
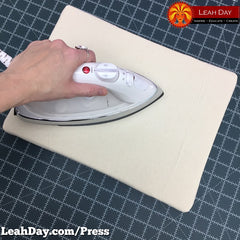
There's a big difference between an ironing board built for pressing a shirt and a pressing board designed to press quilt blocks and appliques. Ironing boards are typically covered with a thick foam pad that squishes and wiggles as you apply pressure with the iron.
This means that your fabric is moving along with it and will easily distort when pressing on an ironing board. Building your own pressing board is a much better way to prepare your fabrics for sewing and quilting because it ensures you get a solid press without distorting the fabrics.
Your goal with starching and pressing fabric is to stiffen the surface by bonding the starch to the fabric fibers. By using a firm pressing board, the fabric will remain square and stable and the starch will be forced to bond with the fabric, not with the iron or the pressing board.
Have you heard that starch is bad for quilts? Click Here to learn the truth about that quilting rumor.
A firm pressing board is also essential for pressing pieced units like half square triangles and flying geese which can easily distort if the fabric shifts against a squishy surface. All methods of applique can also benefit from being built on top of a firm pressing board so the pieces come together accurately.
Building your own quilting ironing board has many advantages over searching for a premade pressing board:
Inexpensive, easy project - Building your own board uses simple materials you can find at the hardware store. Most hardware stores can also precut your wood so you won't even have to worry about bringing home a huge piece of plywood and cutting it down yourself.
Firm surface - You really can't beat this method for creating a super firm, stable surface for pressing fabric.
Durability - Inexpensive ironing boards wear out in months. My pressing boards have lasted for years and the only reason I've recovered the surface is because the canvas began to look a bit worn out and discolored in my videos.
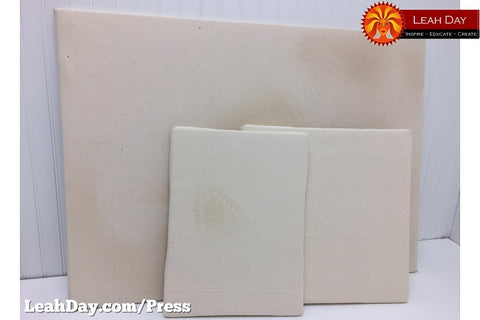
Customization - You can build your pressing board any size and shape you need! Build a large board for pressing yardage, and a second for pressing small projects next to your machine. While you're at it, build another one for travel so you'll never be caught at a workshop without it.
I cannot emphasize just how big a difference it will make to use a firm pressing board for preparing your fabric for quilt making! Definitely build your board today and see how much better your quilt blocks look after cutting and piecing fabric prepared on a firm pressing board.


